Introduction to Cannoli Cookies
The Delightful Origin of Cannoli Cookies
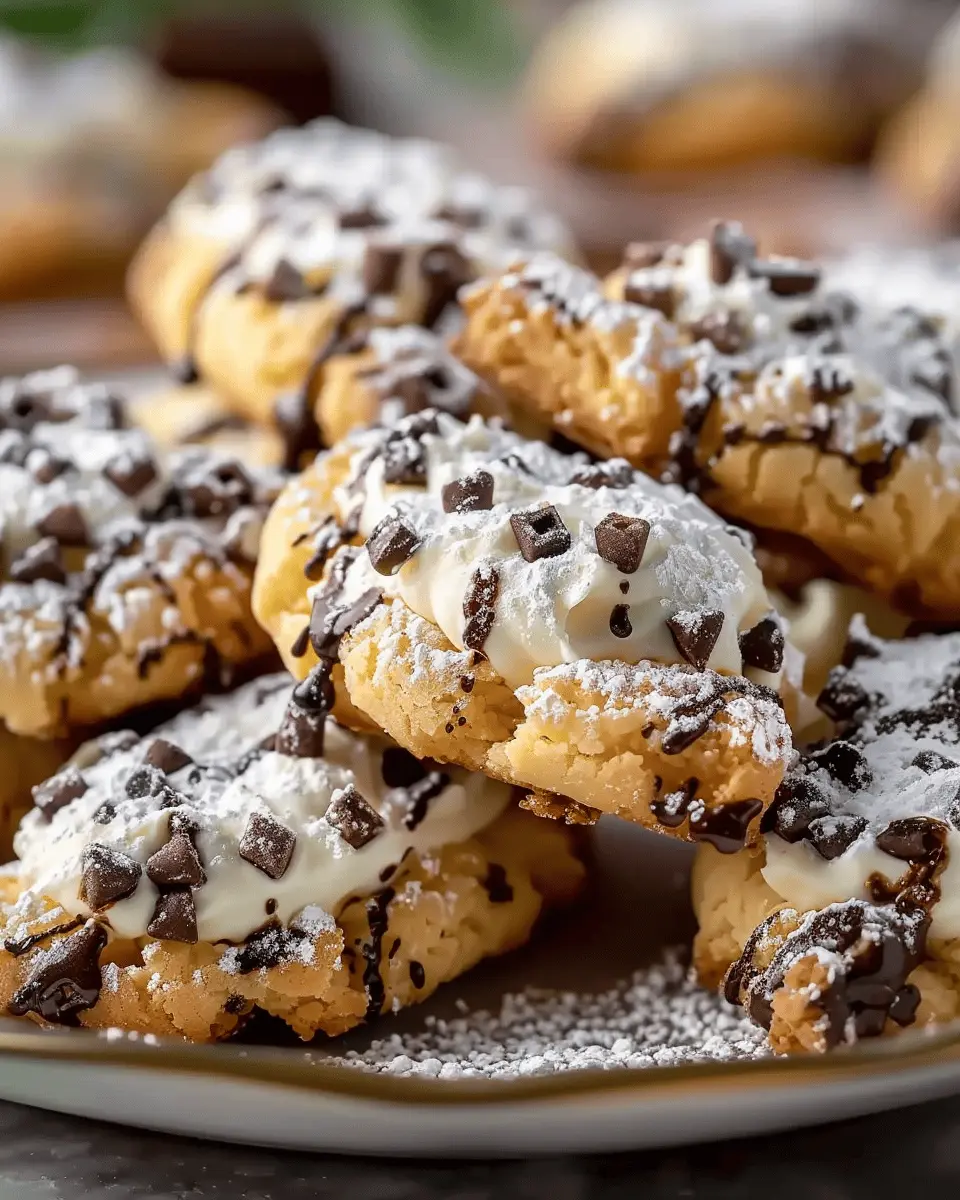
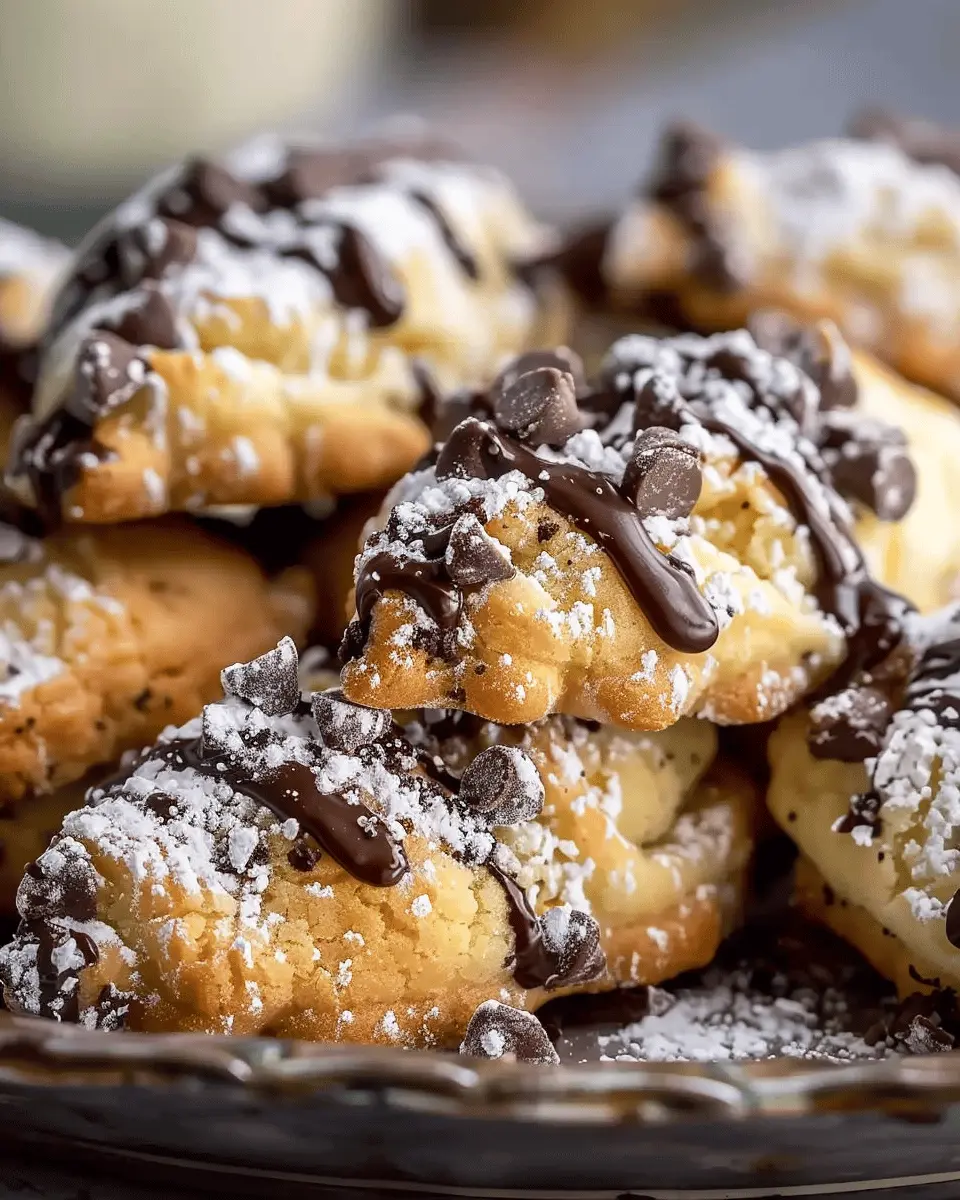
When you think of cannoli cookies, you’re likely transported to a cozy Italian bakery, where the air is filled with the warm scents of vanilla and fried pastry. Interestingly, the history of cannoli dates back to the Sicilian aristocracy during the Arab rule in the 9th century. Traditionally, these delectable treats consisted of tubular pastries filled with a sweet ricotta cheese mixture. Over the years, however, bakers around the world came up with innovative ways to adapt the essence of cannoli into cookie form. Enter: the cannoli cookies! These bite-sized wonders capture the creamy filling and crispy texture we all love, making them perfect for any occasion.
Making cannoli cookies at home allows you to experience this delightful treat firsthand. The great news? You can customize them according to your taste preferences! Whether you like chocolate chips, candied orange zest, or a hint of cinnamon, the options are endless. Intrigued? You’re not alone! Many find joy in creating their own versions of these cookies, infusing family traditions and personal touches into their recipes.
Why Homemade is Better Than Store-Bought
You might wonder: why go through the effort of making cannoli cookies when you can easily purchase them at the store? The difference is night and day. Homemade cookies are exceptionally fresher and have a more robust flavor profile than anything you’ll find on the shelf. Plus, isn’t it rewarding to whip up a delicious treat from scratch?
Here are a few compelling reasons to choose homemade:
- Quality Control: You decide on every ingredient, ensuring that only fresh, high-quality products go into your cookies.
- Customization: Feel free to experiment with various flavors and fillings that store-bought options just don’t offer.
- Nostalgia and Connection: Baking as a hobby can create cherished memories, especially when shared with friends or family.
So, roll up your sleeves and get ready to explore the delightful world of cannoli cookies. It’s the perfect way to bring a slice of Italy into your kitchen, while also creating something uniquely yours. Ready to dive into our delicious recipe? Let’s get started!
Ingredients for Cannoli Cookies
Essential ingredients for our cannoli cookies
To embark on your delightful baking journey, you’ll need some essential ingredients that truly capture the spirit of traditional cannoli. Here’s what you’ll require:
- All-Purpose Flour: This will form the base of your cookies.
- Ricotta Cheese: The star ingredient, providing the creamy goodness reminiscent of cannoli filling.
- Powdered Sugar: For that touch of sweetness, balanced perfectly with the other elements.
- Vanilla Extract: Adds depth and warmth to the flavor profile.
- Cinnamon: A hint of spice elevates the cookies and brings out the best in ricotta.
Optional add-ins to customize your cookies
While the essential ingredients give your cannoli cookies a solid foundation, don’t hesitate to let your creativity shine with these optional add-ins:
- Mini Chocolate Chips: Chocolate lovers, rejoice! Adding these will bring sweetness with every bite.
- Chopped Nuts: Toasted pistachios or hazelnuts offer a delightful crunch and richness.
- Candied Orange Peel: A touch of citrus can brighten up the flavor.
Feel free to mix and match based on your taste! The joy of baking lies in the freedom to experiment. For further inspiration, check out this article from King Arthur Baking on cookie variations. Happy baking!
Preparing Cannoli Cookies
Getting ready to bake cannoli cookies is an exciting journey that combines two classic Italian desserts into one delightful treat. These cookies are not only perfect for a cozy night in but also impressive for gatherings or celebrations. Let’s dive into the preparation process step by step!
Gather Your Ingredients
Before you get started, ensure you have all the necessary ingredients. Here’s what you’ll need:
-
For the cookies:
-
2 cups all-purpose flour
-
1/2 teaspoon baking powder
-
1/4 teaspoon salt
-
1/2 cup unsalted butter, softened
-
1 cup granulated sugar
-
1 teaspoon vanilla extract
-
2 large eggs
-
For the filling:
-
1 cup ricotta cheese
-
1/2 cup powdered sugar
-
1 teaspoon vanilla extract
-
Mini chocolate chips or chopped pistachios (for added texture)
Having everything in one place makes for a smoother baking experience, plus it’s always a good idea to double-check that you’re stocked up on fresh ingredients. If you need tips on choosing quality ingredients, you can check out this helpful guide.
Mixing the Dry Ingredients
Start by whisking together the dry ingredients. In a medium bowl, combine:
- All-purpose flour
- Baking powder
- Salt
This simple mixing ensures your cannoli cookies will rise nicely, providing a light texture and delicious flavor.
Creaming the Butter and Sugar
In a large mixing bowl, beat the softened butter and granulated sugar together. This step is crucial; you want it to become light and fluffy. It usually takes about 2 to 3 minutes. The creaming process incorporates air, which contributes to the cookie’s texture. If you’re looking for tips on this technique, you can find some great advice here.
Combining Wet and Dry Ingredients
Next, add the eggs and vanilla extract to your creamed mixture. Mix until well combined before gradually adding in your dry ingredient mixture. Be careful not to overmix; just combine until the flour disappears. This will keep your cannoli cookies tender.
Creating the Ricotta Filling
While your dough rests a bit, prepare the filling. In a separate bowl, mix the ricotta cheese, powdered sugar, and vanilla extract until smooth. Feel free to fold in mini chocolate chips or pistachios—this adds a delightful surprise in each cookie. A creamy filling creates a perfect contrast to the chewy cookie exterior.
Forming the Cookie Balls
Now it’s time to shape your cookies! Using a cookie scoop or your hands, create balls about 1 to 2 inches in diameter. Place them on a baking sheet lined with parchment paper, leaving enough space in between since they’ll spread while baking.
Baking the Cookies to Perfection
Preheat your oven to 350°F (175°C). Bake the cookies for about 10 to 12 minutes or until they are lightly golden. The edges should be firm, while the centers remain a bit soft. Remember, they will continue to firm up after cooling.
Assembling the Cannoli Cookies
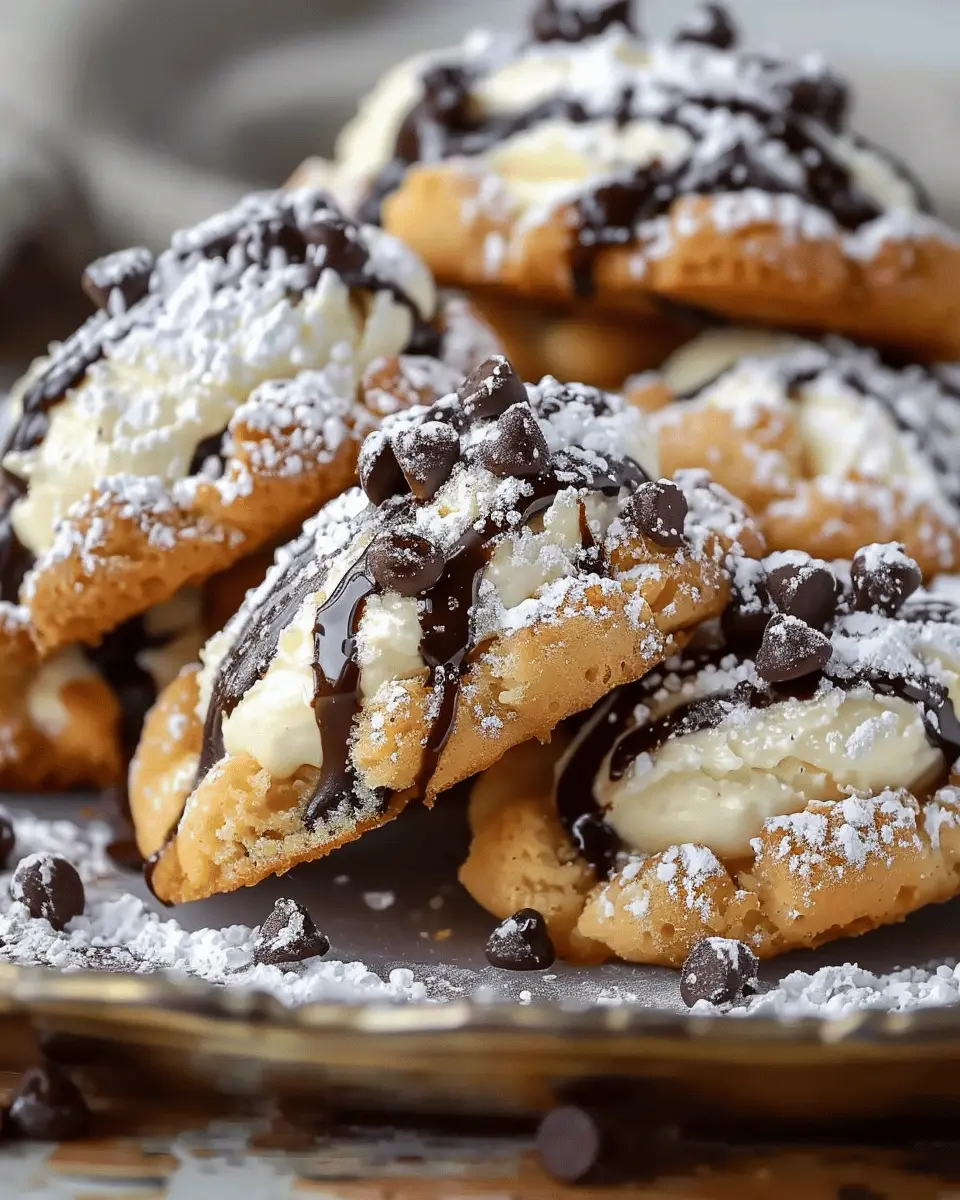
Once the cookies have cooled, it’s assembly time! Slice each cookie in half horizontally, creating a “top” and “bottom.” Spoon a generous amount of your ricotta filling onto the bottom half, then place the top half back on. Dust with powdered sugar for that classic cannoli look.
Well done! Now you have your own homemade cannoli cookies! Perfect for impressing friends or treating yourself, they’re a delightful twist on a beloved dessert. Enjoy every bite, and don’t forget to share the love!
Variations on Cannoli Cookies
Gluten-free Cannoli Cookies
For those looking to enjoy cannoli cookies without the gluten, you’re in luck! Simply substitute regular flour with a gluten-free blend. Brands like Bob’s Red Mill or King Arthur Flour offer great options that don’t compromise on taste or texture. You can also add a little almond flour to enhance the nutty flavor, which pairs beautifully with the sweet ricotta filling. This way, everyone can indulge without worry!
Vegan Adaptations for Cannoli Cookies
If you prefer a plant-based version of these delightful treats, it’s easy to make some simple adjustments. Use a vegan butter alternative instead of regular butter, and replace eggs with flaxseed meal or applesauce. For the filling, swap out dairy ricotta for a homemade blend using tofu, sweetener, and lemon zest—trust us, you won’t miss the dairy! Check out resources like Minimalist Baker for tips that will help you create delectable vegan adaptations of cannoli cookies.
Creative Flavors to Try
Who says cannoli cookies have to stick to traditional flavors? Explore exciting variations by adding unique ingredients to the batter. Consider:
- Cinnamon Chip: Incorporate cinnamon chips for a spicy kick.
- Chocolate Orange: Mix in orange zest and chocolate chips for a fresh twist.
- Nutty Hazelnut: Substitute hazelnut extract and fold in chopped hazelnuts, which gives a rich flavor.
Get creative and experiment—after all, baking is all about fun! No matter which variation you choose, these cookies are sure to impress.
For more baking hacks and ideas, head over to websites like The Kitchn or Food Network to explore a world of culinary possibilities!
Baking notes for Cannoli Cookies
Tips for achieving the perfect texture
When whipping up your cannoli cookies, achieving that delightful balance of chewiness and crispness is key. Here are some crucial tips:
- Cream the butter and sugars well: This aerates the mixture, allowing your cookies to rise nicely.
- Chill the dough: Letting the dough rest in the fridge for at least 30 minutes will improve texture and help the flavors meld beautifully.
- Do not overbake: Aim for a light golden color for a softer cookie.
Common mistakes to avoid when baking
While baking cannoli cookies is fun, it’s easy to run into a few hiccups. Here’s what to watch for:
- Overmixing the dough: This can lead to tough cookies. Mix just until ingredients are incorporated.
- Skipping the cooling rack: This crucial step ensures your cookies set properly and don’t become soggy.
- Ignoring ingredient temperature: Using room-temperature ingredients typically yields a better dough consistency.
By keeping these pointers in mind, your cannoli cookies will turn out deliciously every time! For more insights on baking, check out resources like the King Arthur Baking Company for expert advice.
Serving suggestions for Cannoli Cookies
Ideal Beverages to Enjoy with Cannoli Cookies
When savoring your delightful cannoli cookies, choosing the right beverage can take the experience to another level. Here are some fantastic options:
-
Coffee: A rich, bold espresso or lightly sweetened cappuccino complements the sweetness of the cookies perfectly. The bitterness of coffee balances the cookies’ flavors, offering a delightful contrast.
-
Herbal Tea: Opt for a soothing chamomile or a refreshing mint tea. These can cleanse your palate between bites, enhancing the enjoyment of those creamy fillings.
-
Milk: Classic cold milk is always a winner—especially when you bite into the soft, chewy texture of your cannoli cookies.
Creative Ways to Present Your Cookies
Elevate your cookie presentation and impress guests with these creative ideas:
-
Cookie Stacks: Arrange your cookies in a tall stack tied with a rustic twine for a lovely rustic look.
-
Dessert Platters: Combine your cannoli cookies with fresh fruit, nuts, and chocolate-covered treats for a vibrant dessert spread.
-
Boxes or Jars: Fill decorative boxes or mason jars with your cookies for a charming gift option, creating a homemade touch that anyone would appreciate.
Looking for more inspiration? Explore dessert presentation ideas on websites like The Spruce Eats for tips and tricks.
Time details for Cannoli Cookies
When it comes to whipping up delightful cannoli cookies, knowing how much time you’ll need is half the battle! Here’s a handy breakdown for you:
Preparation time
Getting ready to bake your cannoli cookies will take about 20 minutes. This includes gathering your ingredients, mixing your dough, and shaping those delightful little bites.
Baking time
Once the dough is prepped, the baking won’t take long—around 10 to 12 minutes. Just keep an eye on them; you want a lovely golden brown!
Total time
All in, you’re looking at about 30 to 35 minutes to have fresh cannoli cookies straight out of the oven. Quick enough to enjoy a sweet treat without missing out on your busy day!
To explore more about the art of cookie baking, check out resources from King Arthur Baking or Food Network. Happy baking!
Nutritional information for Cannoli Cookies
When indulging in delightful cannoli cookies, it’s good to be aware of their nutritional profile. Each cookie typically contains around 150 calories, along with:
- Carbohydrates: 20g
- Proteins: 2g
- Fats: 7g
The balance of these macronutrients makes them a satisfying treat, but moderation is key. If you’re looking to lighten up your cookies without sacrificing taste, consider these healthier substitutions:
- Use whole wheat flour instead of all-purpose flour for added fiber.
- Swap in Greek yogurt for some of the butter to reduce fat content while boosting protein.
- Replace sugar with natural sweeteners like maple syrup or agave nectar for lower glycemic options.
These adjustments can help make your cannoli cookies a bit healthier while still delicious! For more detailed nutritional advice, consider checking out sources like the USDA FoodData Central or the Harvard T.H. Chan School of Public Health.
FAQs about Cannoli Cookies
Can I bake these cookies in advance?
Absolutely! Cannoli cookies are perfect for making ahead of time. You can prepare the dough and refrigerate it for up to 3 days before baking. If you’d like, you can also bake them and freeze the cookies for up to three months. Just ensure they’re in an airtight container for optimal freshness. When you’re ready to enjoy them, simply thaw and, if desired, give them a light reheat in the oven for that fresh-baked taste.
How should I store leftover cannoli cookies?
To keep your cookies as delightful as can be, store any leftovers in an airtight container at room temperature. They should stay fresh for about one week. If you anticipate not finishing them in that time, consider moving them to the fridge to extend their shelf life. Just remember to let them sit at room temperature for a few minutes before enjoying—they’re best savored when slightly warmed!
What can I substitute for ricotta cheese?
If you’re looking to switch things up or have dietary restrictions, there are several alternatives you can use instead of ricotta in your cannoli cookies. Cream cheese is a popular choice, offering a similar texture with a richer taste. You can also explore Greek yogurt for a lighter option or even cottage cheese, which, when blended, can mimic that creamy consistency. Each of these substitutes can add its unique flair to your cookies, so don’t be afraid to experiment!
For more in-depth insights on baking tips and cookie storage techniques, explore resources like the Food Network or King Arthur Baking. Happy baking!
Conclusion on Cannoli Cookies
Recap of the Joys of Homemade Cannoli Cookies
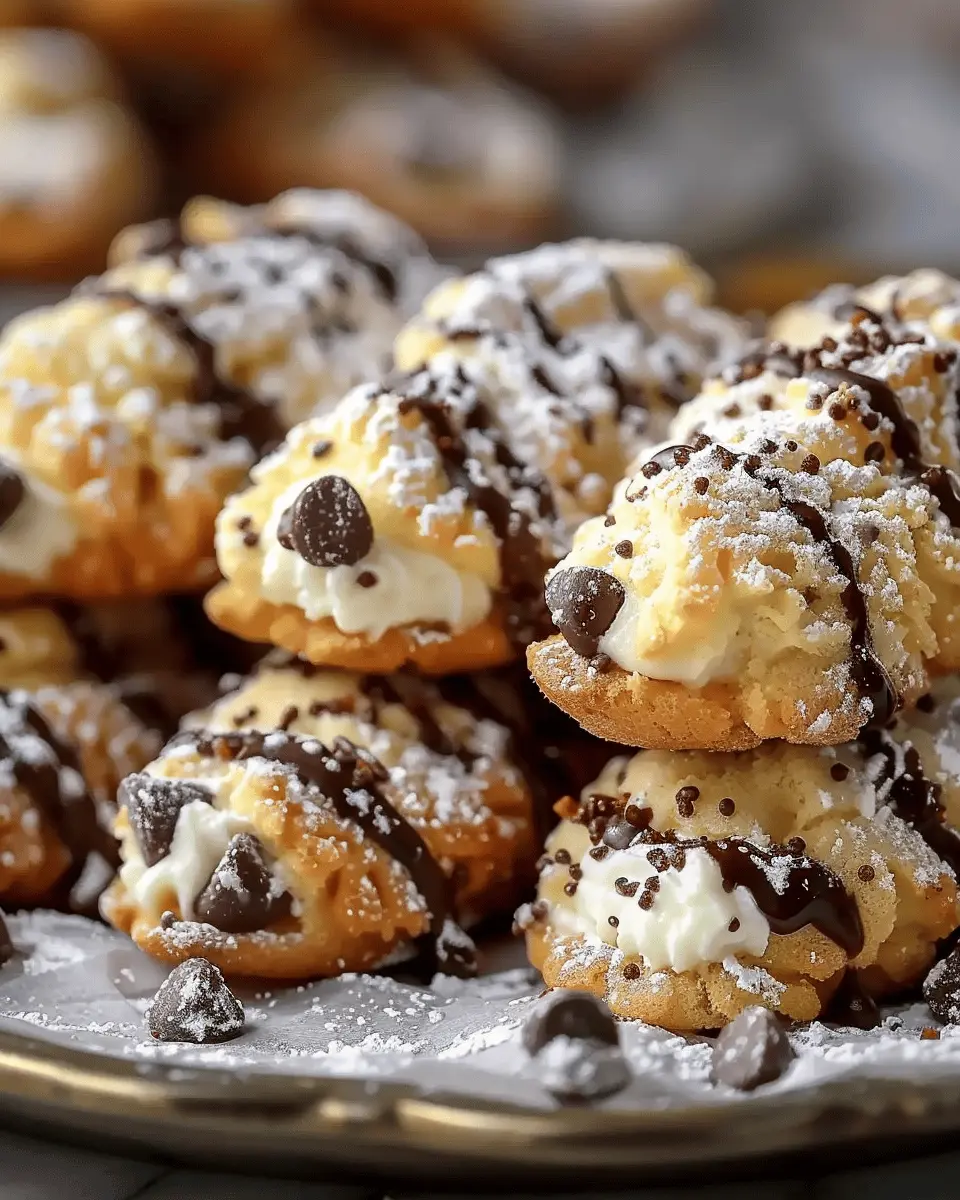
Creating cannoli cookies at home is not just about baking; it’s a delightful journey that fills your kitchen with warm aromas and sweet anticipation. These treats combine the luxurious flavors of classic cannoli into a convenient cookie form, making them perfect for any occasion. The joy of experimenting with fillings—like ricotta and chocolate chips—ensures that each batch can be a unique reflection of your tastes.
Invitation to Share Your Own Variations and Experiences
Have you made your own twist on these delicious cannoli cookies? Maybe you’ve added a hint of citrus zest or tried a different filling altogether. We’d love to hear about your experiences! Share your variations or favorite tips in the comments below. Connecting over our baking adventures makes the journey even sweeter—after all, who doesn’t love a good cookie story? For more inspiration, check out these baking tips and cooking ideas to elevate your culinary creations.
PrintCannoli Cookies: Easy Indulgence for Your Homemade Treats

Delight in the taste of classic cannoli with a cookie twist. These Cannoli Cookies are simple to make and perfect for any occasion.
- Prep Time: 15 minutes
- Cook Time: 20 minutes
- Total Time: 35 minutes
- Yield: 24 cookies 1x
- Category: Desserts
- Method: Baking
- Cuisine: Italian
- Diet: Vegetarian
Ingredients
- 2 cups all-purpose flour
- 1 cup ricotta cheese
- 1/2 cup powdered sugar
- 1/2 cup granulated sugar
- 1 teaspoon vanilla extract
- 1 teaspoon almond extract
- 1/2 teaspoon salt
- 1/2 cup mini chocolate chips
Instructions
- Preheat your oven to 350°F (175°C).
- In a large bowl, mix together flour, ricotta cheese, powdered sugar, granulated sugar, vanilla extract, almond extract, and salt until well combined.
- Fold in the mini chocolate chips.
- Drop spoonfuls of the dough onto a baking sheet lined with parchment paper.
- Bake for 15-20 minutes, or until the edges are golden brown.
- Let cookies cool on the baking sheet for a few minutes before transferring to a wire rack.
Notes
- For an extra touch, you can drizzle melted chocolate over the cooled cookies.
- These cookies can be stored for several days in an airtight container.
Nutrition
- Serving Size: 1 cookie
- Calories: 120
- Sugar: 10g
- Sodium: 50mg
- Fat: 5g
- Saturated Fat: 2g
- Unsaturated Fat: 2g
- Trans Fat: 0g
- Carbohydrates: 17g
- Fiber: 1g
- Protein: 2g
- Cholesterol: 15mg
Keywords: Cannoli Cookies