Introduction to Twix Cookie Cups
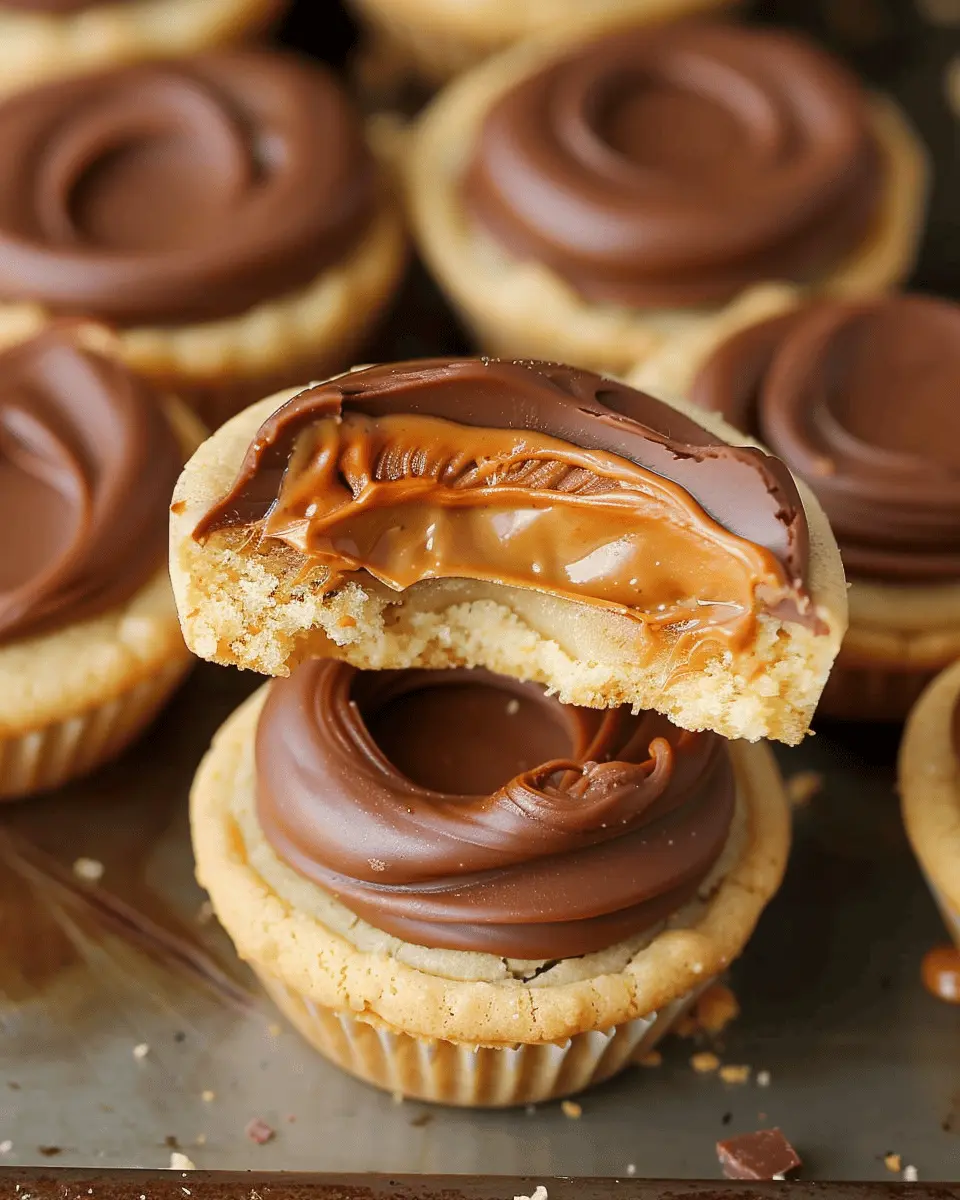
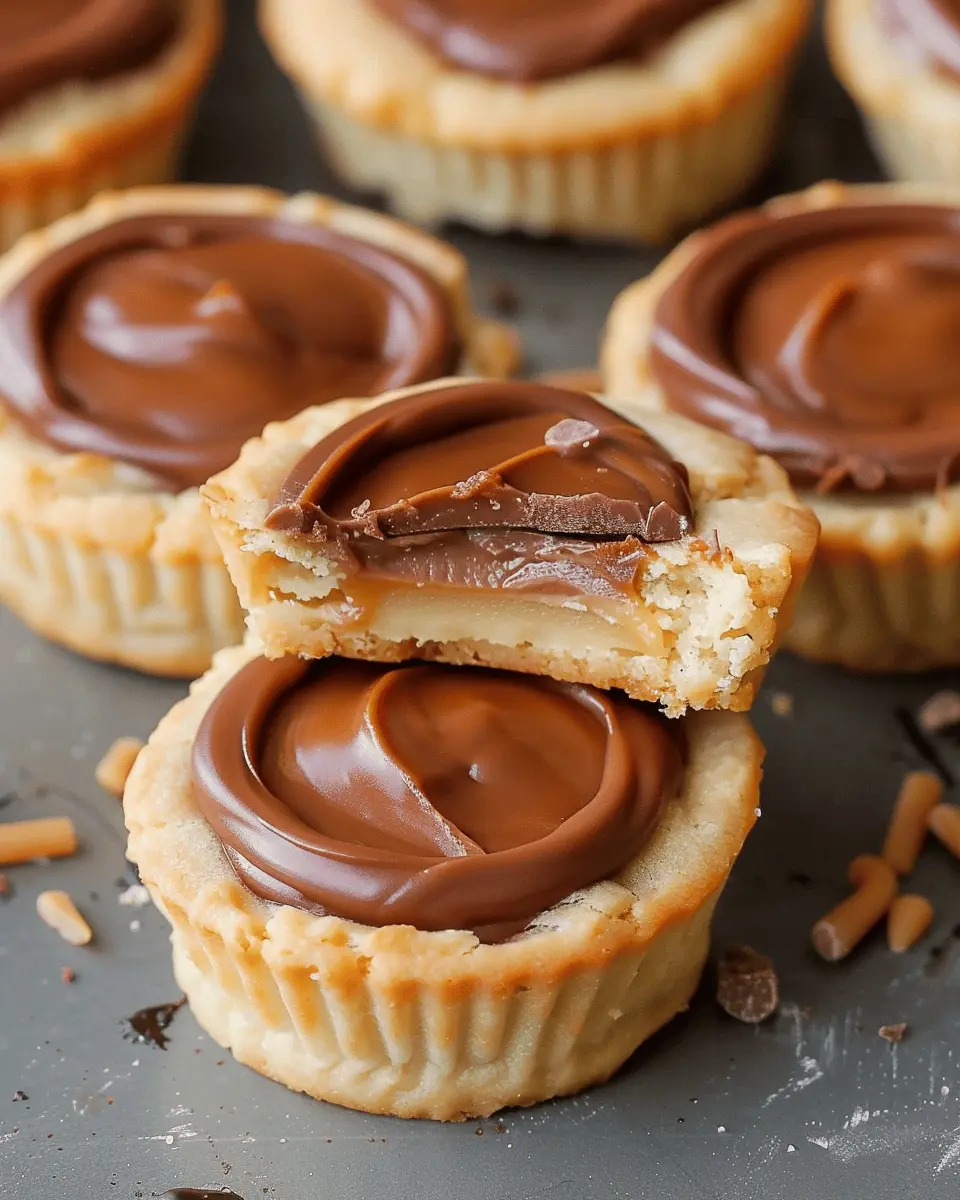
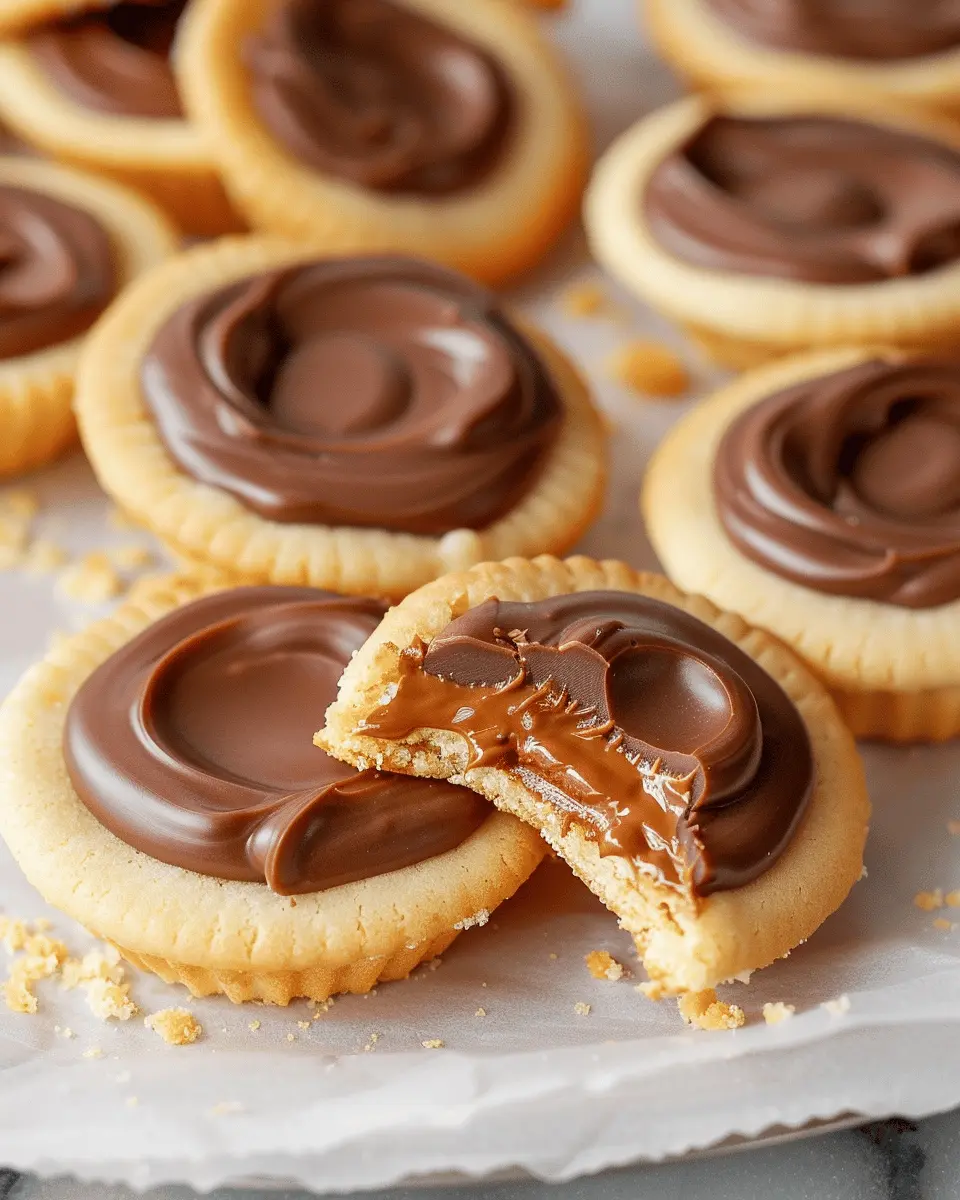
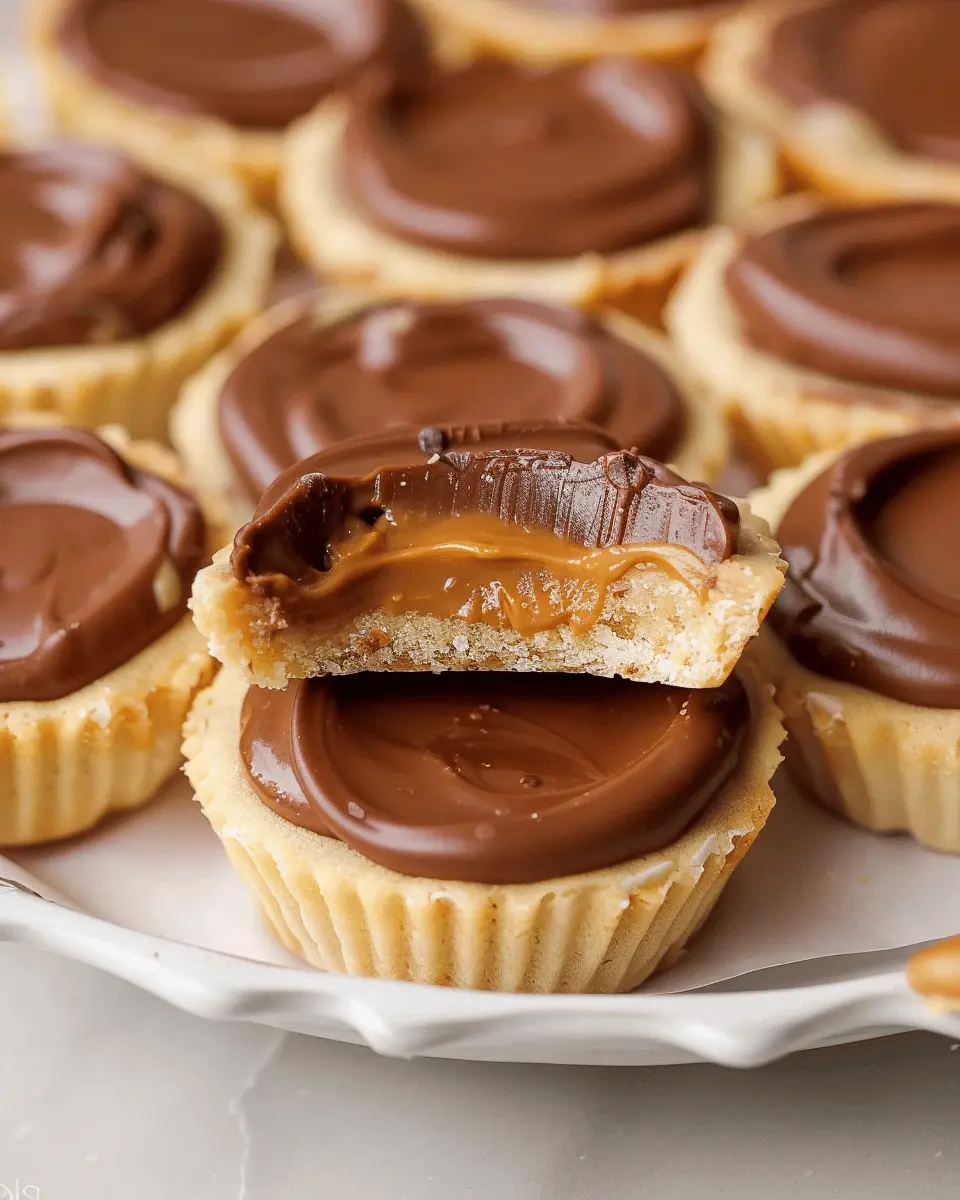
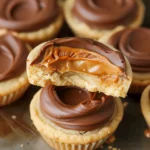
If you’re a young professional living a busy lifestyle, finding time to indulge in delicious homemade treats can feel like just another task on your never-ending to-do list. Enter Twix Cookie Cups—the perfect fusion of convenience, flavor, and enjoyment. These delightful little bites combine the classic elements of a Twix bar—smooth caramel, crunchy cookie, and luscious chocolate—into a compact, easy-to-make dessert.
Why Twix Cookie Cups are the Ultimate Treat for Young Professionals
Let’s face it: after a long day at work, a delicious treat can turn your evening from routine to extraordinary. Twix Cookie Cups offer not just flavor but a well-deserved satisfaction after those long hours at the office. The great thing is, you don’t need to be a baking pro to whip these up; they’re super easy and can be made in under an hour.
Imagine a busy week leading up to a Friday night—long meetings, deadlines, and the hustle. You might be tempted to pick up take-out for dinner, but why not cap off the week with some homemade goodness?
- Quick to Prepare: These cookie cups don’t require extensive time in the kitchen. You can make a batch while you catch up on your favorite show or even listen to a podcast.
- Crowd-Pleaser: Whether you’re hosting friends, attending a potluck, or simply craving something sweet, Twix Cookie Cups will impress. They look great and taste even better—a delightful treat for any occasion.
- Customizable: The base recipe is versatile! Feel free to swap ingredients, from using different types of chocolate to adding nuts or drizzles, making them your own. Explore other cookie variations or incorporate different fillings for a fun twist.
If you’re passionate about cooking, check out Serious Eats for more creative dessert ideas. Or for a fun take on baking with friends, consider looking into Tasty for engaging video recipes that make you want to jump in the kitchen right away!
So, are you ready to dive into the world of Twix Cookie Cups? Let’s get started! Your taste buds will thank you.
Ingredients for Twix Cookie Cups
Essential Ingredients You’ll Need
To create delectable Twix Cookie Cups, you’ll need a few staple ingredients that work together to create a mouthwatering treat. Here’s what’s on your shopping list:
- Cookie Dough: 1 package of refrigerated cookie dough works perfectly—you can also make your own if you’re feeling adventurous.
- Caramel Sauce: A jar of gooey caramel sauce will bring that classic Twix flavor.
- Chocolate Chips: Semi-sweet or milk chocolate chips, depending on your preference.
- Miniature Twix Bars: These will top each cookie cup for that authentic Twix experience.
Make sure to check out this cookie dough guide to master your cookie game!
Optional Add-ins or Substitutes
Feel free to get creative! Spice up your Twix Cookie Cups with these optional ingredients:
- Nuts: Chopped pecans or almonds for some crunch.
- Flavored Extracts: A dash of vanilla or almond extract can elevate the flavor.
- Alternative Chocolate: If you’re a fan of dark chocolate, it makes a richer topping.
These simple swaps can customize your cookie cups, making them uniquely yours! Remember, the beauty of baking is experimenting—so have fun with it!
Preparing Twix Cookie Cups
Creating Twix Cookie Cups is a delightful baking project that brings together buttery cookies, gooey caramel, and rich chocolate. This treat is not just a feast for your taste buds, but also a visual delight that can impress guests or satisfy your sweet cravings. Let’s break down the steps to make these cookie cups with ease.
Preheat the Oven and Prepare Your Workspace
Start by preheating your oven to 350°F (175°C). While that’s heating up, it’s time to gather your ingredients and tools. You’ll need:
- All-purpose flour
- Butter
- Brown sugar
- Granulated sugar
- Eggs
- Vanilla extract
- Baking soda
- Salt
- Caramel candies
- Chocolate chips
Also, don’t forget to grease your cupcake pans or use liners for easy removal. A clean workspace not only makes baking smoother but also ensures you have everything on hand.
Creaming the Butter and Sugar
In a large mixing bowl, combine softened butter, brown sugar, and granulated sugar. Using a hand mixer or stand mixer, cream the ingredients together until the mixture is light and fluffy. This step is crucial because it incorporates air, making your cookie cups tender. Aim for about 3-5 minutes of mixing to achieve a nice texture. You can find great mixing tips here.
Adding the Egg and Vanilla Extract
Once your butter and sugar are creamed, it’s time to add the egg and vanilla extract. Mix them in until well combined. The egg adds moisture and richness, while vanilla extract enhances the flavor profile of your Twix Cookie Cups. Trust me, this simple addition makes a world of difference in taste!
Mixing the Dry Ingredients
In another bowl, whisk together your flour, baking soda, and a pinch of salt. Gradually incorporate this dry mixture into your wet ingredients. Do this on low speed to prevent flour from flying everywhere. Mix just until combined; over-mixing can lead to tough cookies, and we want them to be soft!
Rolling and Cutting the Dough
Now comes the fun part! Take your dough and scoop out small portions (about a tablespoon each). Roll these into balls. Then, place each ball into the greased cupcake tin and gently press down, forming a little cup in the center. The edge should be a bit higher than the center; this is where the caramel filling will go.
Baking the Cookie Cups
Pop the tray into your preheated oven and bake for 10-12 minutes or until golden brown. Make sure to check them halfway through; your oven might have hot spots! Let them cool for a few minutes in the pan before transferring them to a wire rack. This will allow them to firm up nicely.
Making the Caramel Filling
While the cookies cool, it’s time to make that creamy caramel filling. You can use store-bought caramel candies or make your own from scratch. If you’re opting for the packaged version, just melt them in a saucepan over low heat. Stir constantly until smooth—you want a gooey texture that will sit perfectly in your cookie cups.
Assembling the Twix Cookie Cups
Once your cookie cups are cool, fill each center with the melted caramel. Feel free to be generous; after all, more caramel equals more deliciousness! Allow the caramel to set, which usually takes about 10-15 minutes.
Melting the Chocolate and Final Assembly
Finally, melt some chocolate chips in a microwave-safe bowl, heating at 30-second intervals, stirring until smooth. Drizzle or spoon this melted chocolate over each caramel-filled cup, letting it drizzle down the sides. Allow the chocolate to set for another 30 minutes.
And there you have it—your delectable Twix Cookie Cups are ready to enjoy! Serve them up for a party or keep them all for yourself (no judgment here). With their unique blend of textures and flavors, these cookies will steal the spotlight every time. Happy baking!
Variations on Twix Cookie Cups
When it comes to crafting the perfect Twix Cookie Cups, the sky’s the limit! Here are some delightful variations to consider that cater to different tastes and dietary preferences.
Peanut Butter Twix Cookie Cups
If you’re a fan of that classic chocolate-and-caramel combo, why not add a dollop of creamy peanut butter? For Peanut Butter Twix Cookie Cups, simply mix a spoonful of peanut butter into your cookie dough before baking. This luscious addition gives you that rich, nutty flavor while keeping the soft texture we all love. You could even sprinkle some crushed peanuts on top for an added crunch!
Gluten-Free Twix Cookie Cups
Don’t let gluten-free diets hold you back from enjoying these sweet treats. You can easily whip up Gluten-Free Twix Cookie Cups using almond flour or gluten-free baking mixes. Most stores now stock a variety of gluten-free options, making it simple to whip up a batch that everyone can enjoy. Ensure that your caramel sauce is also gluten-free—check out resources like the Gluten Intolerance Group for safe product recommendations.
Vegan Twix Cookie Cups
For a plant-based twist, try these Vegan Twix Cookie Cups. Swap out traditional butter with coconut oil or vegan butter, and use aquafaba (the liquid from canned chickpeas) instead of eggs. Look for dairy-free caramel or make your own using coconut milk and brown sugar. It’s an approachable way to enjoy these little desserts without compromising on flavor while being perfectly friendly for your vegan friends!
Consider experimenting with these delectable variations to find your favorite blend of flavors. Versatile Twix Cookie Cups can be customized to fit any palate—so have fun, and let your sweet tooth lead the way!
Baking Tips and Notes for Twix Cookie Cups
Achieving the Perfect Dough Consistency
To make the ideal Twix Cookie Cups, start with room temperature butter. This ensures even mixing for a smooth dough. When combining the ingredients, stop as soon as everything comes together—overmixing can lead to tough cookies. Aim for a dough that’s soft but not sticky, allowing you to easily shape it into cups.
How to Avoid Overbaking
Overbaking can turn your delicious cookie cups into crunchy disappointments. Keep a close eye on them during the last few minutes in the oven. They should look just set and lightly golden around the edges. It’s okay if they seem a bit underbaked in the center; they will firm up as they cool.
Tips for Melting the Chocolate Smoothly
Melting chocolate for your Twix Cookie Cups can be tricky. For a smooth finish, try the double boiler method. This gentle heat helps prevent the chocolate from seizing. If you prefer the microwave, heat the chocolate in 20-second intervals, stirring in between. Adding a small amount of coconut oil can also help achieve that silky texture.
For more insights, check out this guide about chocolate melting techniques! Happy baking!
Serving Suggestions for Twix Cookie Cups
Pairing Twix Cookie Cups with Coffee or Tea
When it comes to enjoying Twix Cookie Cups, a perfectly brewed cup of coffee or tea can take your experience to new heights. The rich, caramel flavors and chocolatey goodness of these cookie cups harmonize beautifully with a classic cup of coffee. Think about a robust espresso or a creamy latte to elevate those flavors. If you’re a tea lover, a smooth chai or earl grey can bring out the sweetness marvelously. It’s all about balance: the sweetness of the cookie cups makes a delightful contrast against the bitterness of coffee or the warmth of spiced tea.
Ideas for Decorating Your Twix Cookie Cups
Get creative with your Twix Cookie Cups presentation! Here are a few fun ideas:
- Chocolate Drizzle: Melt some chocolate and drizzle it over the tops for a more decadent finish.
- Sprinkles: Add colorful sprinkles or chopped nuts to give texture and a pop of color.
- Caramel Sauce: A drizzle of caramel sauce can enhance the indulgent flavors.
You can also explore more decorating ideas on sites like Taste of Home for inspiration. Personalizing your Twix Cookie Cups not only boosts their appeal but also makes them perfect for sharing at gatherings or celebrations!
Time Breakdown for Twix Cookie Cups
Preparation Time
Getting started with your Twix Cookie Cups is easy! You’ll need about 15 minutes to gather your ingredients and whip up the dough. Don’t forget to soften your butter beforehand! Pro tip: set it out about an hour before you start baking for the best results.
Baking Time
Once you’ve shaped your cookie cups, it’s time for the oven! The baking process typically takes around 12-15 minutes. Keep an eye on them as they bake to ensure that they achieve that golden perfection without overdoing it.
Cooling Time
Let’s talk patience! After baking, your Twix Cookie Cups will need about 10-15 minutes to cool down. This is crucial for maintaining their shape and ensuring those melted chocolate and caramel toppings don’t slide off. Use this time to prep your toppings or simply enjoy a cup of coffee while you wait!
For more in-depth baking tips, check out resources like King Arthur Baking or Serious Eats for expert advice and delicious inspirations.
Nutritional Facts for Twix Cookie Cups
When indulging in Twix Cookie Cups, it’s easy to lose track of nutrition. Here’s a quick breakdown to keep your cravings in check while enjoying these delightful treats.
Calories
Each Twix Cookie Cup typically contains about 150-200 calories. This makes them a sweet addition to your dessert lineup without going completely overboard. Moderation is key, and sharing with a friend can make those calories worth it!
Sugar Content
One Twix Cookie Cup has roughly 12-15 grams of sugar. While the sweetness is part of their charm, keeping an eye on your sugar intake can help maintain a balanced diet. For those looking to reduce sugar, consider using stevia or natural sweeteners in the recipe.
Fat Content
With around 7-10 grams of fat per Twix Cookie Cup, it’s essential to consider the type of fat used. Using healthier fats, such as coconut oil, can enhance both flavor and health benefits. Remember, not all fats are created equal!
For more detailed insights on sugar and fat recommendations, you can check out resources from the American Heart Association or the Food and Drug Administration. Balancing indulgence with nutritional knowledge can help you savor every bite guilt-free!
FAQs about Twix Cookie Cups
Can I make these cookie cups ahead of time?
Absolutely! Making Twix Cookie Cups in advance can save you time, especially if you’re preparing for a special occasion or gathering. You can prepare the cookie dough and freeze it for up to three months. Just ensure you shape your cookie cups and freeze them individually on a baking sheet before transferring them to an airtight container. When you’re ready to bake, simply pop them in the oven straight from the freezer and add a few extra minutes to your baking time.
How should I store leftover Twix Cookie Cups?
Leftover Twix Cookie Cups are a treat worth holding onto! Store them in an airtight container at room temperature for up to three days. If you want to keep them longer, consider refrigerating them for up to a week. Just be aware that refrigeration can affect the texture slightly, but they’ll still be delicious. For an even longer shelf life, you could freeze them. Just let them cool completely before wrapping them tightly with plastic wrap and placing them in a freezer-safe bag.
What are some creative ways to serve Twix Cookie Cups?
Think outside the box when it comes to serving your Twix Cookie Cups. Try these creative ideas:
- Sundae Style: Top with a scoop of your favorite ice cream and drizzle hot fudge for a delightful dessert.
- Drizzle with Chocolate: Add a layer of melted chocolate on top for an extra touch of richness.
- A Side of Dip: Serve with a creamy caramel or chocolate dip for those who like to get a little adventurous.
For other fun dessert ideas, check out this article on creating unique dessert pairings!
Remember, the more you explore, the more fun you’ll have with these sweet treats. Enjoy experimenting!
Conclusion on Twix Cookie Cups
Why You Should Try Making Twix Cookie Cups Today
If you’re on the lookout for a deliciously fun treat that impresses with minimal effort, Twix Cookie Cups are your answer. These delightful bites combine the comforting flavors of cookie dough with rich caramel and chocolate, creating a miniature dessert that delights all who try them.
Imagine enjoying these during a movie night or as a sweet treat at a gathering—everyone will love them! Plus, making them is a great way to unwind after a long week. You can explore additional variations, like adding your favorite nuts or experimenting with different chocolate types.
So why not whip up a batch today? Find the full recipe here, and treat yourself!
PrintTwix Cookie Cups: Indulgent Treats for Your Sweet Tooth
Indulge your sweet tooth with these delightful Twix Cookie Cups that combine cookie and caramel flavors.
- Prep Time: 20 minutes
- Cook Time: 12 minutes
- Total Time: 32 minutes
- Yield: 12 cups 1x
- Category: Dessert
- Method: Baking
- Cuisine: American
- Diet: Vegetarian
Ingredients
- 1 cup all-purpose flour
- 1/2 cup unsweetened cocoa powder
- 1/2 cup granulated sugar
- 1/4 cup brown sugar
- 1/2 cup unsalted butter, softened
- 1 large egg
- 1 teaspoon vanilla extract
- 1/2 teaspoon baking soda
- 1/4 teaspoon salt
- 1 cup caramel candies
- 1/2 cup milk chocolate chips
Instructions
- Preheat your oven to 350°F (175°C).
- In a bowl, cream together the softened butter, granulated sugar, and brown sugar.
- Add in the egg and vanilla extract, mixing until smooth.
- In another bowl, sift together the flour, cocoa powder, baking soda, and salt.
- Gradually add the dry ingredients to the wet mixture, combining well.
- Press the cookie dough into a muffin pan to form cups.
- Fill each cup with caramel candies.
- Bake for 10-12 minutes.
- Remove from the oven and sprinkle milk chocolate chips over the tops, allowing them to melt.
- Let cool before serving.
Notes
- For an extra chocolatey taste, you can also add chocolate caramel candies.
- Make sure the cookie cups are completely cooled before removing them from the muffin pan.
Nutrition
- Serving Size: 1 cup
- Calories: 180
- Sugar: 15g
- Sodium: 75mg
- Fat: 9g
- Saturated Fat: 5g
- Unsaturated Fat: 3g
- Trans Fat: 0g
- Carbohydrates: 22g
- Fiber: 1g
- Protein: 2g
- Cholesterol: 30mg
Keywords: Twix Cookie Cups, dessert, sweet treats, cookies